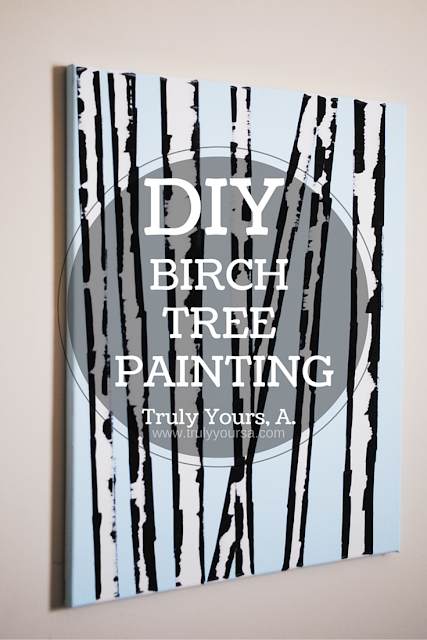
Welcome to Do It My Way Wednesday - my new DIY blog series! This week's DIY was inspired by Hair De La Creme on YouTube. She made this amazing birch tree painting on her first installment of her DIY Saturdays series (check out her video here!). It seemed so simple that I couldn't wait to try it! Keep reading to see how you can make one of these for your home.
Materials Needed:
- White canvas - I used 16" x 20", but you could use whatever size you want.
- Painter's tape
- Acrylic paint - I used the colors China Blue and Black from Apple Barrel, but you could use whatever colors you wanted.
- Paint brush or sponge
- Business card - I used an old loyalty card I found in my junk drawer.
Next is the fun part - painting! Take your China Blue paint and pour a small amount into a container, then start to paint your canvas in a well ventilated area. Make sure you paint all around the edges since they'll be visible after hanging. Apply a thin coat of paint and let it dry for about an hour then apply another thin coat. With the paint color I chose it was hard to tell if I missed any spots so I added a third coat after my first two dried. I then left both canvases to dry overnight.
The next day I removed the painter's tape and poured a small amount of black paint into a container. Take the business card and dip the long edge into the paint and practice dragging the edge along a piece of paper like I did below. This is how we're going to create the "bark" for our birch trees. Place the edge of the card on the edge where the blue paint and the white canvas meet and press it across to your desired width on your tree trunk.
Practice makes perfect which is why I'm glad I had a second canvas to perfect this on. I painted on the bark on each left side of my trees then flipped my canvas and painted all the right sides. Bonus tip: if your painter's tape bubbled up in the last step and paint seeped under it this is your time to cover them. Don't forget to add paint to the edges to complete your trees. Once you're done let the paint dry for an hour and it's ready to hang!
And here is the finished product!
The original DIY also featured "carving" your initials into one of the tree trunks using gold glitter paint. I opted out of this step since I liked the way everything came out. If any of you guys make this DIY make sure to take pictures; I would love to see how these turned out! Use the hashtags #DIYWednesday and #TrulyYoursA and I'll be sure to check it out. Leave any ideas for future DIYs in the comments below!
Have a great Wednesday!


